Generative Animated Videos with Remotion (and Solandra)
Getting started
Remotion is a React-powered library for creating videos. Let's try it out with Solandra, a library for creating 2D graphics from code. We are going to create the following:
We get started with yarn create video and choose the default. Once that is done, also install Solandra with yarn add solandra. That's the setup complete! (Well, Remotion requires FFMPEG; see the Remotion Docs for installation instructions.)
Run yarn start to begin and take a look. We have something that resembles a video editor but is powered by React. Open ./src/Video.tsx to see what's happening. We find a set of Compositions (videos). In the starter project, the main one is ./src/HelloWorld.tsx. This is just a React component that uses a couple of Remotion-specific hooks:
const frame = useCurrentFrame()
const videoConfig = useVideoConfig()
Our first video
Let's try to draw something with Solandra. In the browser, go to File > New Composition. Pick a suitable video size and name. This will give you code to copy, like the following:
<Composition
  id="HelloSolandra"
  component={HelloSolandra}
  durationInFrames={150}
  height={1080}
  width={1920}
  fps={24}
/>
Let's create a component and canvas and import:
import { useCurrentFrame, useVideoConfig } from 'remotion'

export default function HelloSolandra() {
  const frame = useCurrentFrame()
  const videoConfig = useVideoConfig()

  return <canvas height={videoConfig.height} width={videoConfig.width} />
}
This is already working (kind of), but a blank video isn't what anyone wants. Let's at least draw the background.
import { useEffect, useRef } from 'react'
import {
  continueRender,
  delayRender,
  useCurrentFrame,
  useVideoConfig,
} from 'remotion'
import { SCanvas } from 'solandra'

export default function HelloSolandra() {
  const frame = useCurrentFrame()
  const videoConfig = useVideoConfig()
  const delayHandle = delayRender()

  const ref = useRef<any>()
  useEffect(() => {
    const ctx = ref.current.getContext('2d')
    const s = new SCanvas(ctx, videoConfig)
    s.background(210, 80, 50)

    continueRender(delayHandle)
  })

  return (
    <canvas height={videoConfig.height} width={videoConfig.width} ref={ref} />
  )
}
We use useEffect to set up a fresh SCanvas (Solandra's wrapper) after each render. We use delayRender and continueRender to ensure that Remotion doesn't attempt to render the output immediately. (I suspect in most cases this isn't necessary, as Puppeteer latency is likely greater than render time, but let's try to be careful.)
Let's actually make a video. We'll use the current frame to change the colour and check if we can render this. Just change one line of code (use the frame in the hue component of the background color):
s.background(frame + 150, 80, 50)
Let's update package.json to output our video on yarn build, i.e.
"build": "remotion render src/index.tsx HelloSolandra out/sol-video-1.mp4",
And run it:
yarn build
A few seconds later (8.8 seconds on this M1 Mac), we have our video. It's a very boring video, but we could draw absolutely anything on each frame and have it nicely assembled. We can also easily scrub the current time (to quickly preview things) and include other elements like text in a very easy-to-compose and configurable way.
A more interesting video
A while ago, I looked into simulating watercolours, adapted from Tyler Hobbs' essay. I think this could be very nicely animated. Let's get started. Again, create a composition via the menu (or we could just copy and paste):
<Composition
  id="Watercolour"
  component={Watercolour}
  durationInFrames={600}
  height={1080}
  width={1920}
  fps={30}
/>
Setup
If some of the math here seems tricky, just skip past it for now (you can read more about the approach later).
And create a new component, Watercolour, by copying our previous code. To simulate watercolour, we want a couple of helper functions. Firstly, to create a starting shape, we generate a regular polygon and perturb each point slightly; Solandra has a method for this. Solandra also provides the Point2D type for 2D points.
const startShape = (r: number = 0.2, magnitude: number = 0.2): Point2D[] => {
  const at = s.meta.center
  // A regular polygon is close to what we want but that would be closed (start = end) which we don't want here
  return s.build(s.aroundCircle, { at, r, n: 12 }, (pt) =>
    s.perturb({ at: pt, magnitude }),
  )
}
We also want to be able to spread out our paint (crudely simulating paint flowing outwards). We do this by starting with two points (i.e., an edge of the original polygon), then generating a new point from this by taking the midpoint and moving perpendicularly outwards:
const newPoint = (a: Point2D, b: Point2D): Point2D => {
  // Perpendicular outwards
  const beta = -Math.PI / 2
  const u = b[0] - a[0]
  const v = b[1] - a[1]
  const m = baseM * s.random()
  const d = s.random()
  const cb = m * Math.cos(beta)
  const sb = m * Math.sin(beta)

  return [a[0] + u * d + (cb * u - sb * v), a[1] + v * d + (sb * u + cb * v)]
}
We can then use this for spreading by applying to a set of points.
const spread = (points: Point2D[]): Point2D[] => {
  var spreaded: Point2D[] = []
  const l = points.length
  for (let i = 0; i < l; i++) {
    const p1 = points[i]
    const p2 = points[i > l - 2 ? 0 : i + 1]
    spreaded.push(p1)
    spreaded.push(newPoint(p1, p2))
  }
  return spreaded
}
Let's actually draw with it:
s.background(40, 70, 90)
s.setFillColor(5, 95, 60, 0.25)

let sh = startShape(0.3, 0.25)
sh = spread(spread(sh))
s.times(5, () => {
  sh = spread(sh)
  s.fill(SimplePath.withPoints(sh))
})
We also need to set a random seed for Solandra:
const s = new SCanvas(ctx, videoConfig, 1);
otherwise we get a new drawing on each frame.
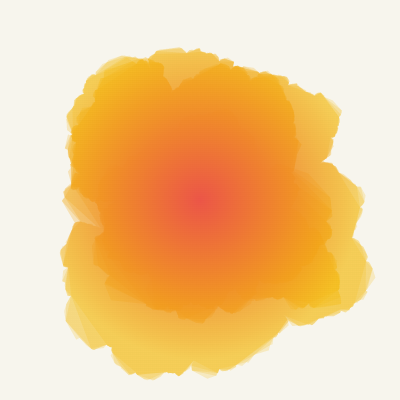
This already produces a decent effect, but by layering and using gradients, we can achieve something more compelling.
Making a video
Replace our drawing code with:
s.setFillGradient(
  new RadialGradient({
    start: s.meta.center,
    end: s.meta.center,
    rStart: 0,
    rEnd: 0.4,
    colors: [
      [0, { h: 5, s: 80, l: 60, a: 0.5 }],
      [1, { h: 45, s: 90, l: 50, a: 0.2 }],
    ],
  }),
)

let shapes = [startShape(0.2), startShape(0.3), startShape(0.34)]
shapes = shapes.map((sh) => spread(spread(sh)))

s.times(5, () => {
  shapes = shapes.map((sh) => spread(sh))
  shapes.forEach((sh) => s.fill(SimplePath.withPoints(sh)))
})
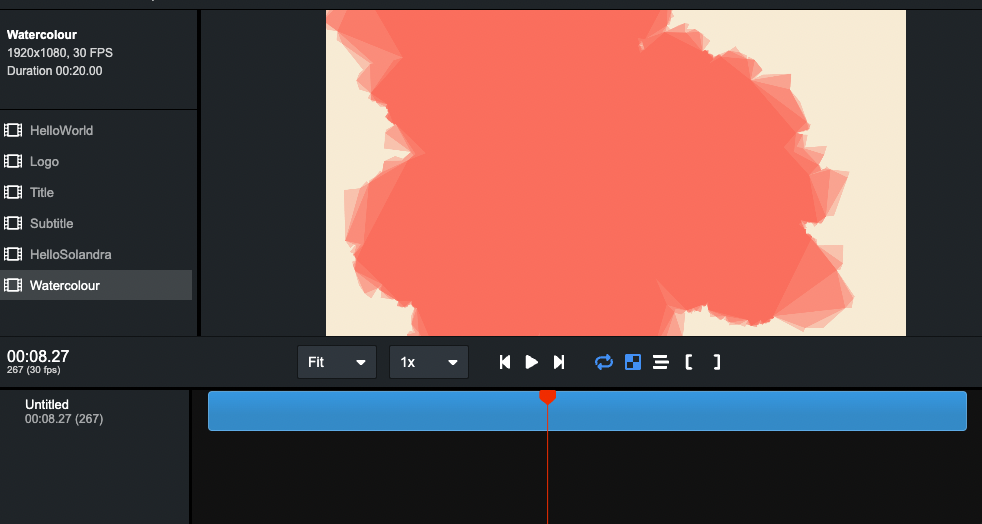
We are using Solandra's RadialGradient to specify a nice gradient. The rest of the code is similar, though we now have three layers that are each independently spread iteratively. Now, let's animate it.
Since we have a full programming language at our disposal, we can very easily and precisely change anything about the rendering. Let's start with something simple: fading our watercolour in. The following lines control the gradient; let's animate their alpha (opacity) on each frame.
First let's get a relative time in the animation:
const t = frame / videoConfig.durationInFrames
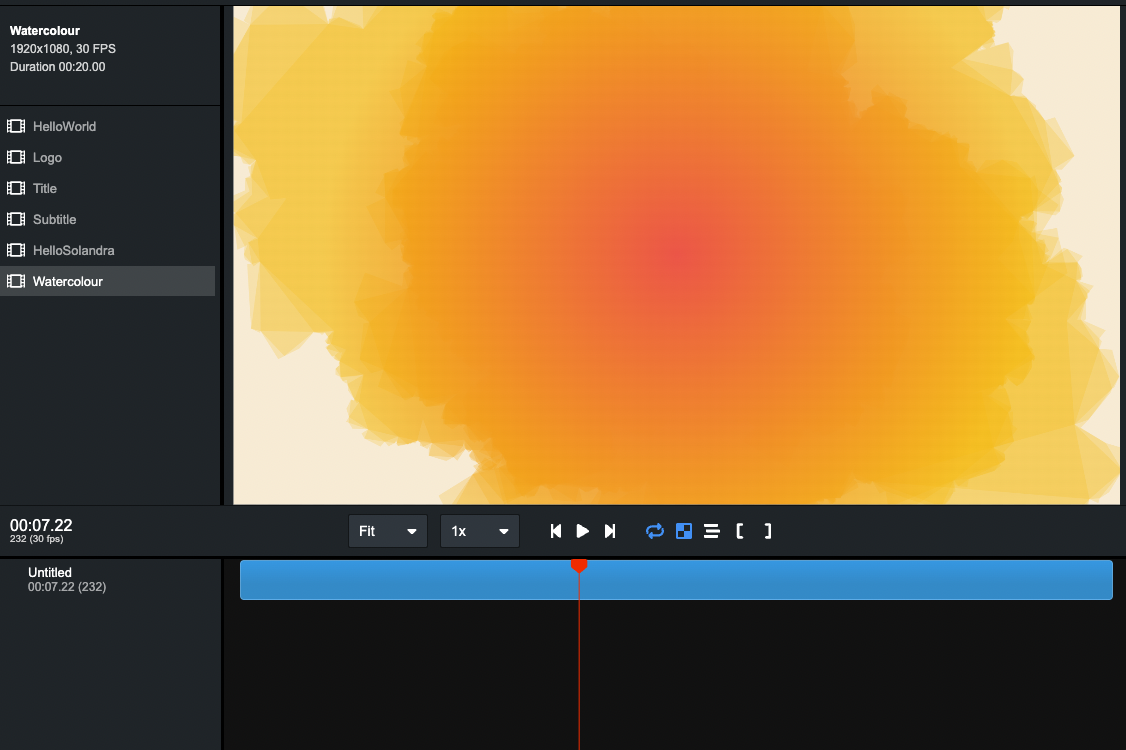
Then, use this to update the opacities. Note the use of t*t for the outer one; this makes the fade non-linear, so the outside will take longer to appear painted.
colors: [
    [0, {h: 5, s: 80, l: 60, a: 0.5 * t}],
    [1, {h: 45, s: 90, l: 50, a: 0.2 * t * t}],
],
Let's render, add
"build:water": "remotion render src/index.tsx Watercolour out/watercolour.mp4",
to package.json and run it. You can see the full source code here.
solandra-remotion
To save on a little bit of boilerplate, here is a SolandraRemotion component. It handles the common setup and provides both a frame and t (time) callback. I might publish it on npm at some point:
import { useEffect, useRef } from 'react'
import {
  continueRender,
  delayRender,
  useCurrentFrame,
  useVideoConfig,
} from 'remotion'
import { SCanvas } from 'solandra'

export default function SolandraRemotion({
  draw,
}: {
  draw: (canvas: SCanvas, frame: number, t: number) => void
}) {
  const frame = useCurrentFrame()
  const videoConfig = useVideoConfig()
  const delayHandle = delayRender()

  const ref = useRef<any>()
  useEffect(() => {
    const ctx = ref.current.getContext('2d')
    const s = new SCanvas(ctx, videoConfig)
    draw(s, frame, frame / videoConfig.durationInFrames)
    continueRender(delayHandle)
  })

  return (
    <canvas height={videoConfig.height} width={videoConfig.width} ref={ref} />
  )
}
With this component, our first example becomes:
import SolandraRemotion from './SolandraRemotion'

export default function HelloSolandra() {
  return (
    <SolandraRemotion
      draw={(s, frame) => {
        s.background(frame + 150, 80, 50)
      }}
    />
  )
}